
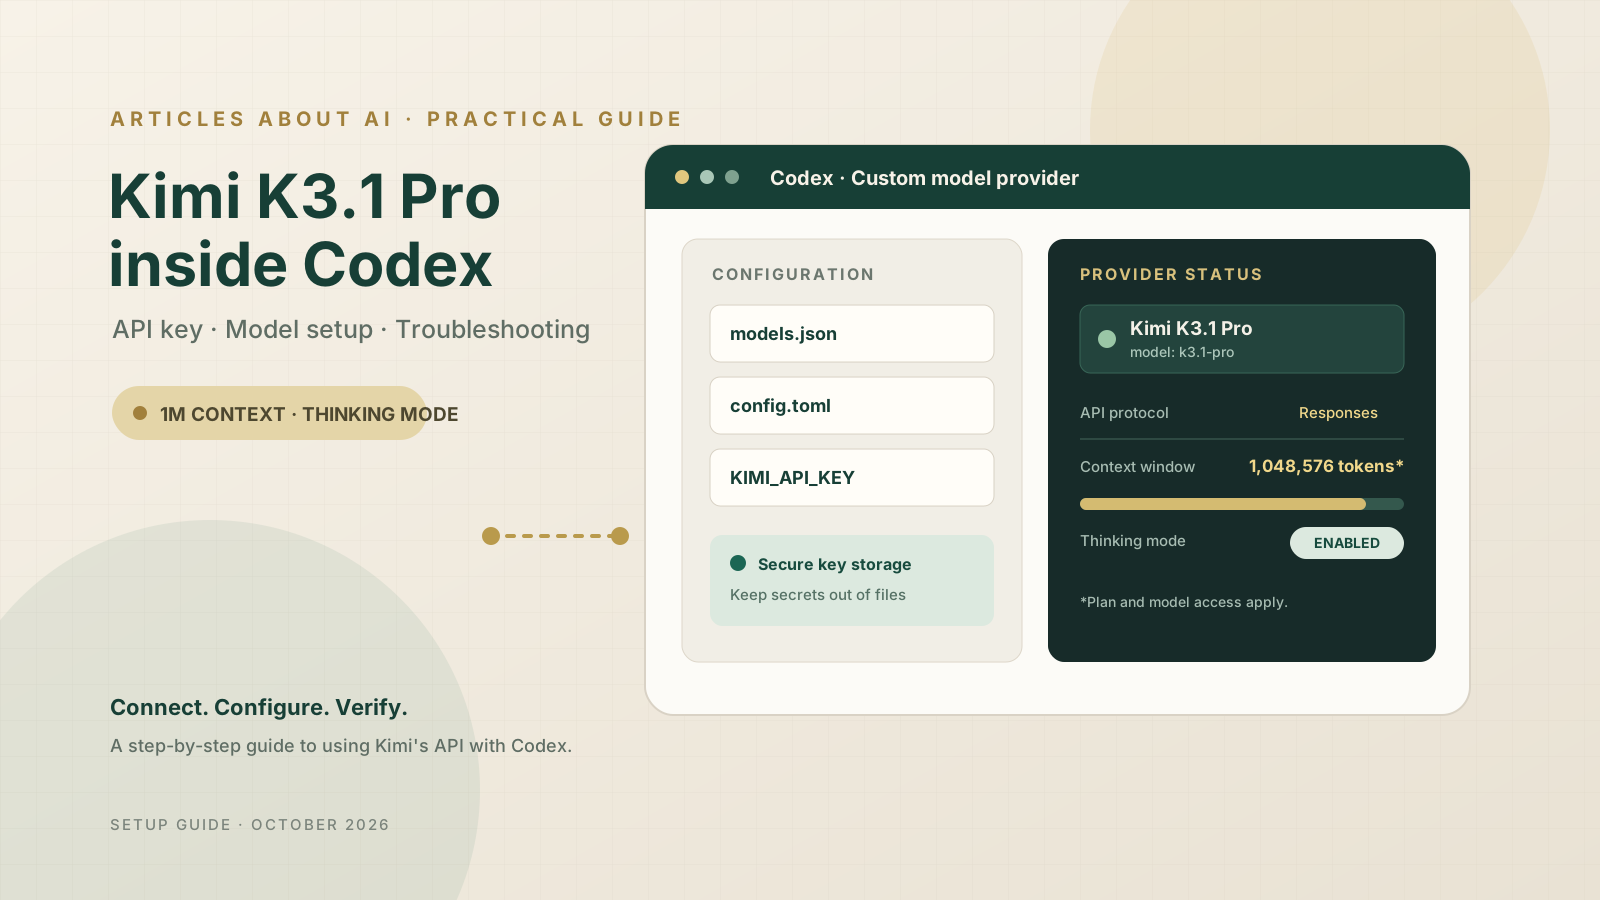
Kimi K3.1 Pro can be used from OpenAI Codex by configuring Kimi Code as a custom model provider. The important detail is that this is not the same as selecting a model included with an OpenAI account: you need access to Kimi Code, a Kimi API key, and a Codex configuration that points to Kimi’s Responses API. This guide follows Kimi’s published Codex instructions and explains the files to create, the settings to check, and the errors most likely to interrupt setup.
Kimi’s documentation lists two model IDs for the new series: k3.1-pro and k3.1-pro-highspeed. The models require thinking mode; requests with thinking disabled can be rejected. Access to the 1-million-token context window and the Highspeed model depends on the Kimi Coding Plan tier, so confirm your account’s current entitlement before assuming every capability is available.
What you need before setting up Kimi K3.1 Pro in Codex
Prepare these items first:
- Codex CLI or the Codex desktop app. Kimi’s official guide documents connecting both through a custom model provider.
- A Kimi Code account and API key. Create the key in the Kimi Code console. The key is sensitive and should be stored in an environment variable rather than pasted into a shared configuration file.
- A supported Kimi Code plan. Model access, Highspeed availability, quota usage, and the maximum context window depend on your plan.
- A terminal and access to your Codex configuration directory. On macOS and Linux, this is normally
~/.codex/. On Windows, use%USERPROFILE%\.codex\.
Install Codex CLI if you do not already have it:
npm install -g @openai/codex
After installation, run Codex once so it can initialize its configuration directory. If Codex is already installed, check its current version and back up your existing configuration before editing it.
For a broader comparison of coding agents, see our guide to Claude Code vs. Codex vs. Gemini CLI. If you already use Codex, our tutorial on creating reusable Codex skills and plugins covers ways to organize repeatable workflows.
Step 1: Create a Kimi Code API key
Sign in to the Kimi Code console and create an API key. Copy it when it is shown and store it securely; the console may not display the complete key again.
Set the key as an environment variable named KIMI_API_KEY. The exact command depends on your operating system and shell.
macOS or Linux, for the current terminal session:
export KIMI_API_KEY="paste-your-key-here"
Windows PowerShell, for the current session:
$env:KIMI_API_KEY = "paste-your-key-here"
These commands set the variable for the current shell session. To make it available in future sessions, use your operating system’s environment-variable settings or the appropriate shell profile, following your organization’s secret-management rules.
Do not commit the API key to Git, place it in a screenshot, or paste it into config.toml. If the key has been exposed, revoke it in the Kimi console and create a replacement.
Step 2: Create the Codex model catalog
Kimi’s documented Codex setup uses a models.json file in the Codex configuration directory. Create:
- macOS/Linux:
~/.codex/models.json - Windows:
%USERPROFILE%\.codex\models.json
Add the following model catalog. It includes both the standard K3.1 Pro model and K3.1 Pro Highspeed, each with a 1,048,576-token context-window value as documented by Kimi.
{
  "models": [
    {
      "slug": "k3.1-pro",
      "display_name": "K3.1 Pro",
      "description": "Kimi K3.1 Pro, 1M context",
      "default_reasoning_level": "max",
      "supported_reasoning_levels": [
        { "effort": "low", "description": "Light reasoning" },
        { "effort": "high", "description": "Enhanced reasoning" },
        { "effort": "max", "description": "Deep reasoning" }
      ],
      "shell_type": "shell_command",
      "apply_patch_tool_type": "freeform",
      "visibility": "list",
      "supported_in_api": true,
      "priority": 0,
      "base_instructions": "",
      "supports_reasoning_summaries": true,
      "default_reasoning_summary": "none",
      "support_verbosity": false,
      "truncation_policy": { "mode": "bytes", "limit": 10000 },
      "context_window": 1048576,
      "max_context_window": 1048576,
      "effective_context_window_percent": 95,
      "supports_parallel_tool_calls": true,
      "experimental_supported_tools": [],
      "input_modalities": ["text", "image"]
    },
    {
      "slug": "k3.1-pro-highspeed",
      "display_name": "K3.1 Pro Highspeed",
      "description": "Kimi K3.1 Pro Highspeed, 1M context",
      "default_reasoning_level": "max",
      "supported_reasoning_levels": [
        { "effort": "low", "description": "Light reasoning" },
        { "effort": "high", "description": "Enhanced reasoning" },
        { "effort": "max", "description": "Deep reasoning" }
      ],
      "shell_type": "shell_command",
      "apply_patch_tool_type": "freeform",
      "visibility": "list",
      "supported_in_api": true,
      "priority": 1,
      "base_instructions": "",
      "supports_reasoning_summaries": true,
      "default_reasoning_summary": "none",
      "support_verbosity": false,
      "truncation_policy": { "mode": "bytes", "limit": 10000 },
      "context_window": 1048576,
      "max_context_window": 1048576,
      "effective_context_window_percent": 95,
      "supports_parallel_tool_calls": true,
      "experimental_supported_tools": [],
      "input_modalities": ["text", "image"]
    }
  ]
}
Keep the JSON syntax exact: use double quotes, do not leave trailing commas, and save the file as models.json. If Codex cannot parse the catalog, validate the file with a JSON validator and confirm that it is in the correct .codex directory.
Step 3: Configure Codex to use Kimi’s Responses API
Open or create the Codex configuration file:
- macOS/Linux:
~/.codex/config.toml - Windows:
%USERPROFILE%\.codex\config.toml
Add the following configuration for the Kimi endpoint documented for the China service:
model = "k3.1-pro"
model_provider = "kimi"
web_search = "live"
model_catalog_json = "~/.codex/models.json"

[model_providers.kimi]
name = "Kimi"
base_url = "https://api.kimi.com/coding/v1"
env_key = "KIMI_API_KEY"
wire_api = "responses"
Endpoint note: Kimi’s documentation lists a separate overseas endpoint, https://api.kimi.ai/coding/v1. Use the endpoint that matches the Kimi Code service and account you actually use. Do not mix endpoints from different products or copy a generic Moonshot API URL from an unrelated integration tutorial. If your account’s official Codex instructions show a different endpoint or required configuration, follow those instructions.
On Windows, adjust model_catalog_json to the actual location of the file, for example:
model_catalog_json = "C:/Users/YOUR_USERNAME/.codex/models.json"
Replace YOUR_USERNAME with your Windows account folder. If your existing configuration already contains settings for another provider, merge the new [model_providers.kimi] section carefully rather than deleting unrelated settings. TOML cannot contain duplicate definitions of the same table, so edit the existing section if one is already present.
The configuration references the name of the environment variable, not the API key itself. This is intentional: it keeps the secret out of the configuration file and out of source control.
Step 4: Start a new Codex session and select the model
After saving both files:
- Confirm that
KIMI_API_KEYis available in the environment from which Codex is launched. - Close the current Codex session and start a new one. Kimi recommends a new session when switching to K3.1 Pro rather than changing models in the middle of an older K3, K2.8 Preview, or K2.7 Code Highspeed session.
- Select K3.1 Pro from the model list if it appears. If you want the faster variant and your plan supports it, select K3.1 Pro Highspeed.
- Keep thinking enabled. Kimi says the K3.1 Pro series supports thinking mode only; disabling it can return an HTTP 400 error.
- Test with a small, low-risk coding task before giving the agent access to a large repository or important files.
For example, ask Codex to inspect a small sample project, explain its entry point, and suggest one harmless improvement without applying it. Then review the response and, if appropriate, ask for a minimal change that you can inspect.
Step 5: Verify the connection without exposing secrets
A successful setup should let Codex send a request to Kimi and receive a response from the selected model. Check the following if the model does not appear or requests fail:
- The model slug is exactly
k3.1-proork3.1-pro-highspeed, not just the display name. - The
model_providervalue matches the provider table name,kimi. - The
env_keyvalue isKIMI_API_KEY, and that variable is available to the Codex process. - The endpoint matches the account’s Kimi Code service.
- The
models.jsonpath is correct and the file is valid JSON. - Thinking mode is enabled.
- Your Kimi plan permits access to the selected model and context window.
Never paste your API key into a bug report or share terminal output before checking it for secrets. If you need help diagnosing a failure, share the error code and the relevant configuration with the key removed.
Troubleshooting: common Kimi K3.1 Pro and Codex errors
HTTP 401: Unauthorized
This usually indicates an authentication problem. Check that the environment variable exists in the process that launched Codex, that the key was copied correctly, and that the key belongs to the Kimi Code service associated with the configured endpoint. If the key was revoked or exposed, create a new one.
HTTP 403: Model access denied
A valid key does not automatically grant access to every model or context length. Confirm your Kimi Coding Plan tier, whether K3.1 Pro Highspeed is included, and whether your account can use the 1M context window. Consult the official membership table rather than assuming that an API key bypasses plan restrictions.
HTTP 400: Thinking mode or context error
Kimi states that K3.1 Pro requires thinking mode. If the request disables thinking, enable it and retry in a new session. A 400 response can also indicate an invalid parameter or a context window that exceeds the model or account’s allowance. Confirm the selected model ID and the context settings.
HTTP 404: Endpoint or route not found
Check the base_url and protocol. The Codex configuration above uses wire_api = "responses", so the provider must support the Responses API. Use the official endpoint for your Kimi Code region and avoid combining an endpoint from one service with a key from another.
HTTP 429: Rate limit or quota exceeded
Check your plan’s remaining quota, request rate, and model-specific usage rules. Kimi’s documentation says the Highspeed model uses quota more quickly than standard K3.1 Pro. If requests fail intermittently, reduce concurrent tasks and retry after the limit window rather than repeatedly sending the same request.
The model does not appear in Codex
Confirm that models.json is saved in the Codex configuration directory and that model_catalog_json points to it. Validate the JSON, check spelling and file permissions, then start a fresh session. If the model still does not appear, compare your files with Kimi’s latest official Codex guide because client configuration can change between versions.
Codex responds, but long tasks perform poorly
A 1M-token context window is a maximum capability, not a guarantee that every task should consume that much context. Give the agent a clear goal, relevant files, constraints, and test criteria. Avoid loading unrelated material into the session. Keep the model and thinking level consistent during a task where possible; Kimi warns that switching models or reasoning effort can invalidate cached context and increase usage.
Kimi K3.1 Pro vs. K3.1 Pro Highspeed
| Detail | K3.1 Pro | K3.1 Pro Highspeed |
|---|---|---|
| Model ID | k3.1-pro |
k3.1-pro-highspeed |
| Thinking mode | Required | Required |
| Context | Up to 1M, subject to plan | Up to 1M, subject to plan |
| Speed | Standard | Approximately 2–3× faster, according to Kimi |
| Quota | Standard model usage | Higher quota consumption; check the current plan |
Choose the standard model if you want to manage quota carefully and do not need the faster output speed. Consider Highspeed for interactive workflows when it is available in your plan and the additional quota cost makes sense. These are vendor-reported characteristics, not an independent benchmark.
For the wider model landscape, read our Kimi K3.1 Pro vs. Claude Opus and GPT-6 comparison. If you are troubleshooting Codex itself rather than the Kimi provider, see how to fix the Codex worktree serialization error and how to fix Codex stream disconnections on Windows.
Security and workflow recommendations
Connecting a third-party model provider gives Codex another route for sending prompts and project context. Before using it on private work, check your organization’s rules and the provider’s data-handling terms. Do not include credentials, production secrets, customer records, or confidential source code unless you are authorized to send that material to the service.
Use a least-privilege workflow:
- Start with a test repository or a non-sensitive project.
- Review any request to run a command or modify files.
- Inspect diffs before accepting code changes.
- Run tests and security checks locally or in your normal CI pipeline.
- Keep API keys out of Git and rotate them if exposure is suspected.
- Track model usage, especially when using Highspeed or very long context.
Codex can help write and edit code, but its output still needs review. Treat generated code as a proposal until it passes your project’s tests and security checks.
Frequently asked questions
Do I need an OpenAI API key to use Kimi K3.1 Pro in Codex?
For the Kimi provider configuration described here, you need a Kimi Code API key and the Codex custom-provider settings. Your existing Codex installation is the client; Kimi supplies the model service. Keep the Kimi key separate from any credentials used for other providers.
Can I use Kimi K3.1 Pro for free?
Do not assume so. Access depends on the Kimi Code plan and its current quota rules. Check the official membership and pricing pages before configuring a production workflow.
Does the setup work in Codex Desktop as well as the CLI?
Kimi’s official instructions describe custom-provider configuration for Codex CLI and desktop. The exact interface for choosing a model may differ by client version, so verify the current Kimi guide if the model list or settings do not match these steps.
Can Codex accept video when connected to Kimi?
Kimi’s documentation for this Codex integration says the Responses API supports text and image input but not direct video input. If you need to analyze a video, a separate workflow may be required, such as extracting key frames first; that is not the same as native video input in Codex.
Is the full Kimi K3.1 Pro model available to run locally?
The API setup in this guide uses Kimi’s hosted service. Do not confuse API access with downloading and running model weights locally. Check Moonshot’s official release notes for the current status of any open-weight release.
Official documentation
- Kimi Code: Use Kimi in Codex
- Kimi Code model configuration and plan access
- Kimi Code overview and API endpoints
- OpenAI Codex configuration reference
Bottom line: Kimi K3.1 Pro can be connected to Codex through Kimi Code’s API by creating a model catalog, configuring a custom provider, and supplying the API key through an environment variable. The most common setup failures come from the wrong endpoint, a missing environment variable, invalid JSON/TOML, plan restrictions, or disabled thinking mode. Verify each setting against the official documentation before using the integration on important projects.